Sending group text messages is easy and convenient. It’s great for planning parties, coordinating projects, or keeping in touch with loved ones. Here’s how to create a group text on your iPhone.
Step-by-Step Guide
- Open the Messages App: Find the Messages app on your iPhone’s home screen. Tap it to open it.
- Start a New Message: Tap the compose button (a plus sign) in the top right corner.
- Add Recipients: Type the names or phone numbers of people you want to include in the group. As you type, suggested contacts will show up. Tap on the contacts you want to add.
- Create the Group: The “To” field will show a group name after adding all recipients. If you don’t like the default name, tap on it to edit and make a better one.
- Start Typing: Tap the text field below the list of recipients. Start typing your message.
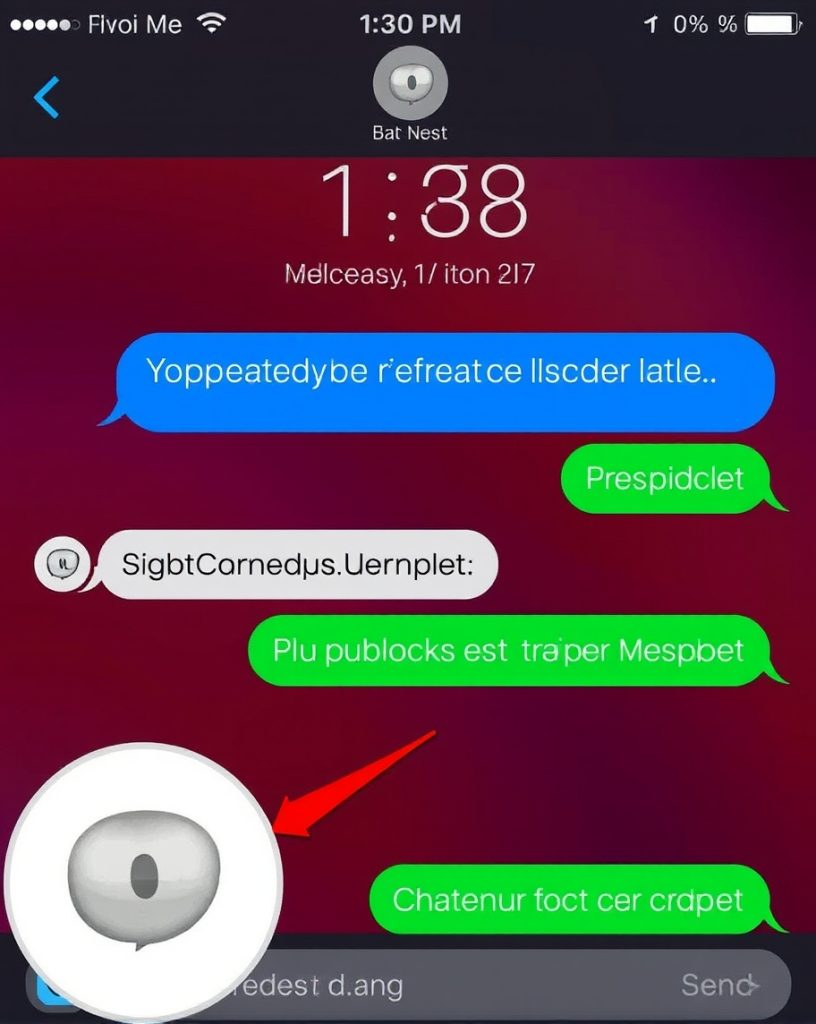
- Send the Group Text: When ready, tap the blue “Send” arrow in the bottom right corner to send the group text.
Additional Tips
- Add or Remove Members: To add more members to an existing group text, open the group chat and tap the “i” button in the top right corner. Then, tap “Add Contact” and select the desired contacts. To remove members, tap the “i” button, find the contact you want to remove and swipe left on their name.
- Mute or Leave Groups: If you want to stop receiving notifications from a group but keep the chat active, you can mute the group. To do this, open the group chat, tap the “i” button, and toggle the “Notifications” switch to the off position. To leave a group entirely, open the chat, tap the “i” button, and select “Leave Conversation.”
Advanced Features and Tips
Creating and managing group texts on iPhone is easy. But there are advanced features and tips to make your experience better.
1. Group Text Settings
- Customize Notifications: You can customize how you receive alerts for each group. Choose different sounds, vibrations, and alert styles.
- Set Group Name: Give your group a name for easy recognition.
- Add or Remove Members: Easily add or remove people from your group.
- Mute or Leave Group: You can mute a group to stop notifications or leave it if you no longer need it.
2. Group Text Features
- Share Media: Send photos, videos, and more in your group chat.
- Use iMessage Apps: Add fun to your chats with iMessage apps.
- Create Polls: Make polls to get opinions or make decisions quickly.
- Share Location: Share your location or a specific place with the group.
3. Group Text Etiquette
- Respect Others’ Time: Don’t send too many messages or irrelevant ones.
- Use Clear and Concise Language: Communicate clearly and avoid slang or abbreviations.
- Avoid Forwarding Spam: Don’t forward unwanted messages to the group.
- Be Considerate of Sensitive Topics: Avoid discussing sensitive topics in group chats.
Troubleshooting Common Group Text Issues
- Message Delivery Problems: Check your network, and make sure the recipient’s phone is on and they have the Messages app. Also, check if they’ve blocked you.
- Group Text Not Working: Try restarting your iPhone or updating your software if group texts aren’t working.
- Message Notifications Not Appearing: Ensure your iPhone’s notification settings are suitable for the Messages app and the group isn’t muted.
Group Texting Best Practices
- Create Specific Groups: Make separate groups for different purposes to avoid confusion.
- Use Clear Subject Lines: When starting a group, use a clear subject line to know its purpose.
- Assign Roles: In big groups, give roles to members to keep things organized.
- Use Group Texting Apps: Look into third-party apps for more features and customization.
Following these tips, you can contact friends, family, and work colleagues through group texting.
Additional Tips and Considerations
- Group Texting and Privacy: Be careful with personal info in group texts.
- Group Texting and Legal Considerations: Know the laws about group texting, for minors or in work settings.
- Group Texting and Safety: Be cautious with strangers and watch out for scams.
- Group Texting and Accessibility: Make sure everyone can join in, including those with disabilities.
- Group Texting and Cultural Differences: Be aware of cultural differences when chatting with people from other backgrounds.
Knowing these extra details helps you use group texting wisely. It makes talking to others better and more effective.
Creating a group text on your iPhone is a fantastic way to streamline communication, whether planning a surprise party or coordinating a team project. With just a few taps, you can keep everyone in the loop, share updates effortlessly, and enjoy engaging conversations with multiple contacts simultaneously. Discover more about group texting.


